(Please bear with me, this page is still a "work in progress")
Last Updated: Friday, May 4th @ 1AM CST
32"x48" sheet of 3/8" ply, marked in 11"x12" and 21"x12" rectangles (cut lines)
Assemble the bottom and sides (12"x21" rectancles) like this (notice the sides overlap the bottom, they DO NOT sit on top of the bottom)
Add a small reinforcing plate to the 11"x12" rectangle for the sweeper hose end, then drill a hole that's BARELY large enough for your nozzle to fit inside (preferably drill it too small, then sand to fit).
DO NOT allow the sweeper hose nozzle to extend into the box, or bees could get injured by it!

Cut one 11"x12" rectangle down to 10.125"x12" and caulk staple it to the end plate for the bee-hose end, as shown.
(That's for 1/2" tall end-tabs on Lang. style frames, if your bars are 3/4" thick, like mine, cut this plate to 9.875"x12")

Attach joined plates, with the back plate against the BOTTOM (i.e. empty space for frames to rest at the TOP) as shown, caulk brad (use nails/screws if you like, but brads split the plywood less) together, then trace your bee-hose (the 1.5"ID hose) onto the front, drill a pilot hole, then widen it SLOWLY with a saw/rotary tool.
You want this hole, like the sweeper hose hole, to be VERY snug fitting!
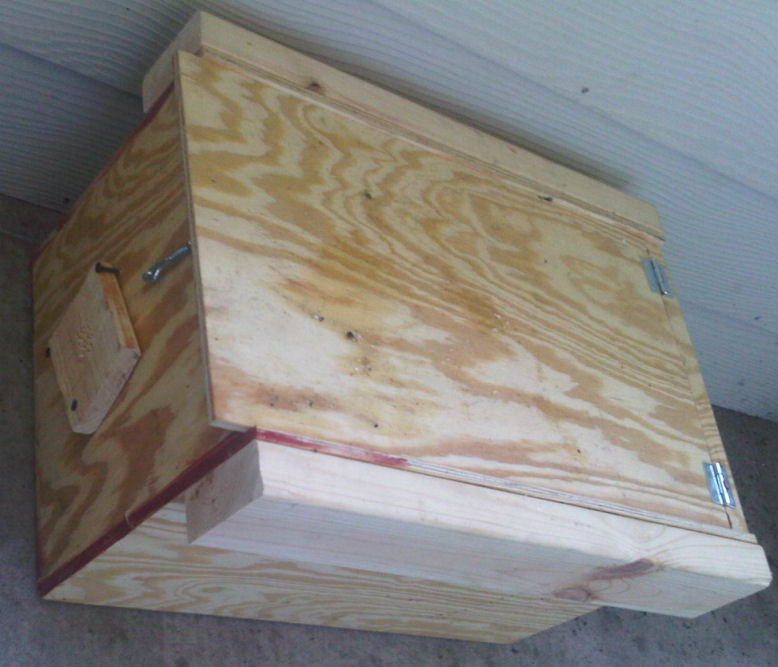
Here's a picture taken from the bee-hose end of the box, with the "trap door" closed

...From the sweeper-hose end; notice the adjustable inlet (suction control) above the sweeper hose hole?
I won't likely be using that on future versions as I've found no need to open it AT ALL, suction is low enough without it.
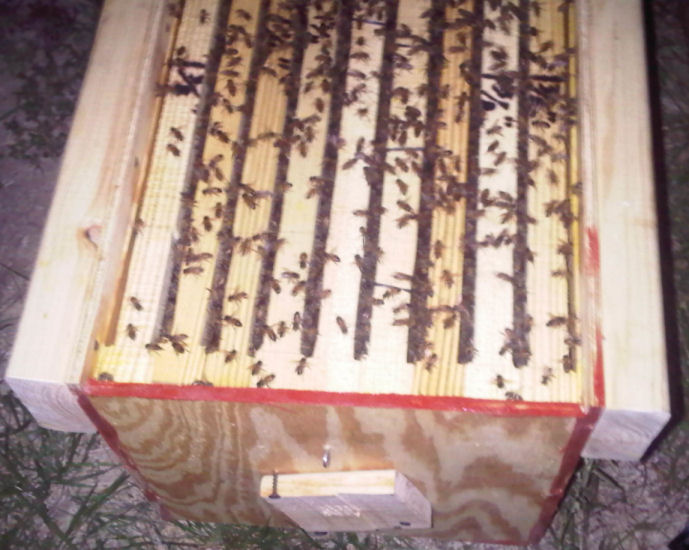
This pic shows the vac loaded with 9 of my Top Bars...these are 19" bars that are either 1.25" or 1.375" wide (as marked on the bars), and otherwise 100% compatible with Langstroth equipment
(Click Here for a how-to on building my top bars)
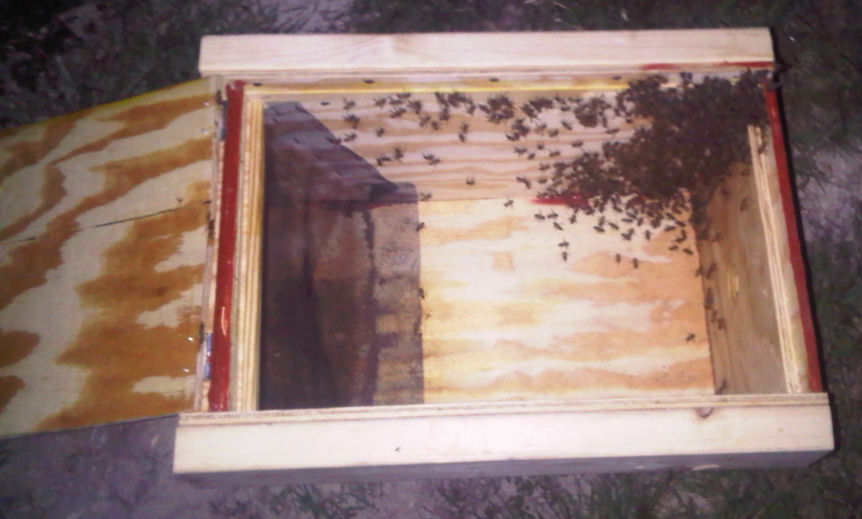
This is the inside of the box. Notice that the screen is stapled to the FRONT (toward the bee-hose) side of the back (toward the sweeper-hose) frame rest (which is made from a 1/2"x1.25"x11" piece of lumber, glued bradded in so that it's top edge is 10.125" above the "floor"), this is important so that there is enough "play" in the screen and the bees don't bounce hard enough to get deadly-close to the sweeper hose.
Also, I'll be installing the screen VERTICALLY, instead of on a slope on all future versions; the slope gets in the way of adding in the frames of spliced brood-comb when you're done